How to Make a Shape Photo Collage: FigrCollage Help

Making a shape collage from your pictures using FigrCollage is super simple; anyone with or without design experience can do it.
In this documentation, you will learn to make a shape collage using FigrCollage software for Mac or Windows PC.
You should start by viewing the Quick Start Video and then check other options.
Quick Start Video (Must Watch)
This video overviews how to make a shape photo collage using FigrCollage. The video uses Mac OS X software for the demo. Still, it can be used by Windows users because the Windows PC software has a similar user interface and functionality.
Working with shape
The following sections explain how to select your shape and use any custom shapes. You will also learn how to invert a shape, reposition it, or resize it.
Recommendations for Shape
A shape with fine lines, complex patterns, tiny text, and intricate features would require a large number of very small photos to represent. On the other hand, a simple shape can easily be created and represented using fewer and bigger photos.
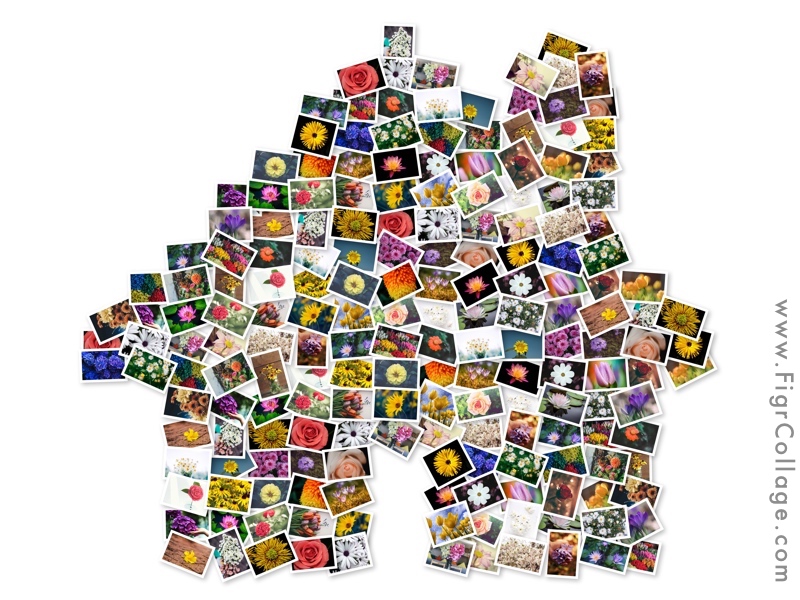
Here’s a comparison of two shapes — the world map and the home.

Here's the shape collage for the world map:
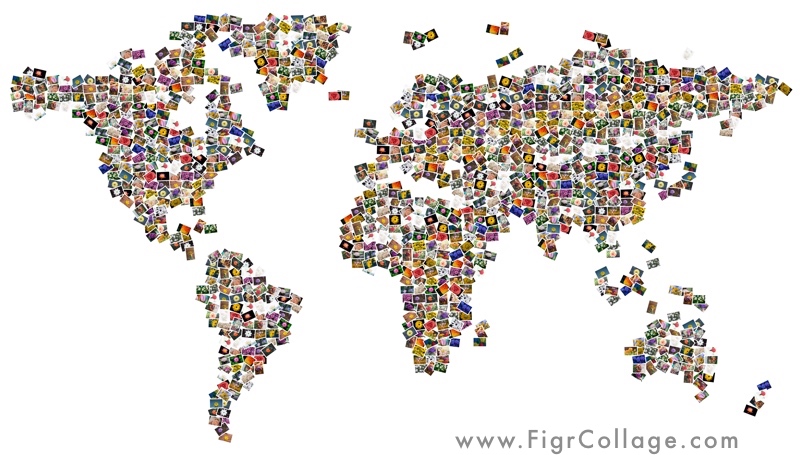
The world map is a very complex shape with fine details, and it requires smaller cells to represent.
A simple shape such as a home can easily be represented using fewer bigger photos as shown below:
Use a Custom Shape
If you can’t find a shape of your choice in the standard set of shapes that come along with FigrCollage, you can use any shape.
Here’re the steps to use a custom shape:
-
Use an image editor to create a picture using a white background with the shape represented using black colour.
For example, here’s a sample custom shape:
-
Save this image to a JPG or PNG file.
-
In FigrCollage, go to the Shape section in Settings, click "Use Picture as Shape" and select the custom image you had saved in the previous step.
-
You would be presented with an option to crop the selected shape and make some optional adjustments. Once you complete these, you’d be ready to use your custom shape.
Invert Shape
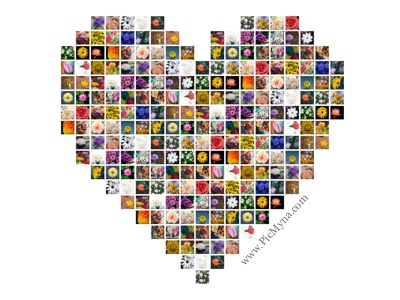
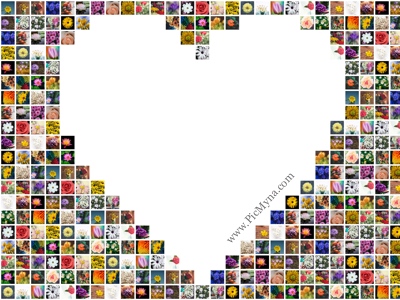
You can invert your shape to place the pictures outside the shape instead of inside the shape.

Here're the sample collages generated for the shapes above:
Move, Zoom in, or Zoom out Shape
Once you've chosen a shape, you might want to move, zoom in, or zoom it out to make space for some text in your collage.
Starting from v3.3.2, you can do this from the controls shown in the screenshot below.
Follow these steps:
- Select a shape.
- Click Draw or Edit Shape.
- Use the move/zoom in/zoom out controls to reposition the shape.
Customize the cells
You will learn how to customize your cells in the following sections.
Cell Style
You can select a Freeform, Rectangular, Circular, Hexagonal, or Diamond cell for your picture collage. Here’s a comparison of the various cell types:
Freeform

Rectangular
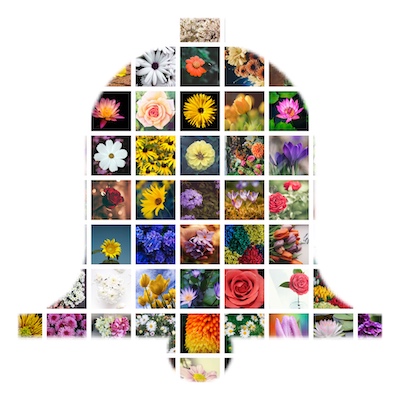
Circular

Hexagonal
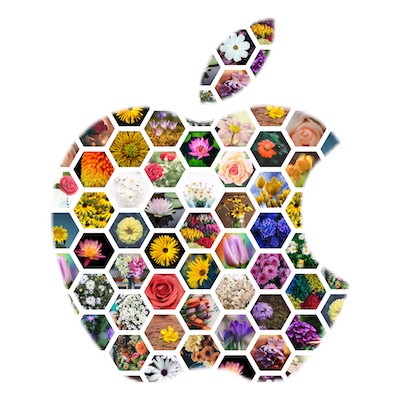
Hexagonal

Diamond
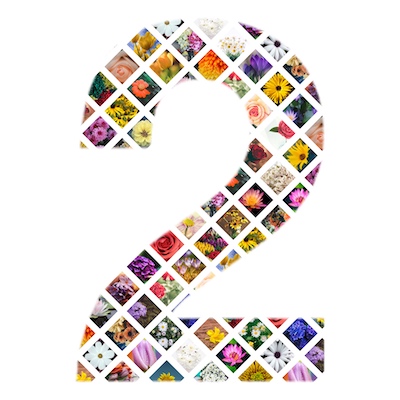
Cell Size When Using Rectangular Cells
Rectangular tile cells can have the following an aspect ratios:
- 1 : 1 (Square)
- 4 : 3
- 3 : 4
- 3 : 2
- 2 : 3
- 16 : 9
- 9 : 16
- 2 : 1
- 1 : 2
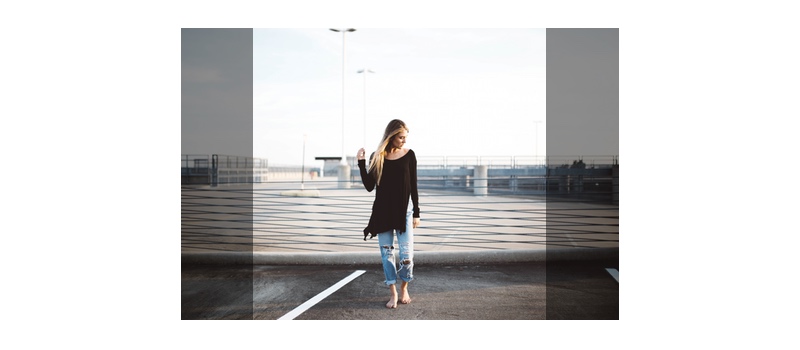
Pictures that have a different aspect ratio are automatically centre cropped. For example, the following sample photo shows how an image will be automatically cropped for a 1 : 1 cell.
Cell Placement
You can choose either of the three ways to place images in your shape: Default, Shape Edges Only, and Shape Masked.
Default
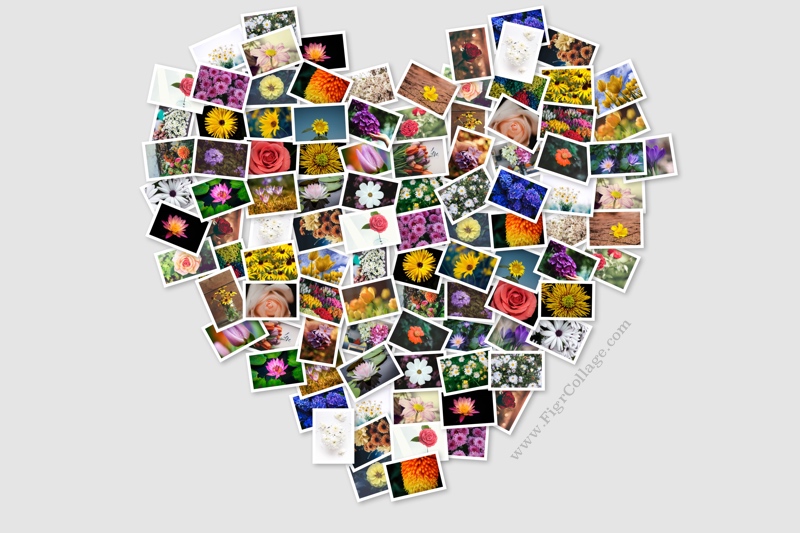
Default cell placement setting fills the shape using images, as shown in the sample image below.
Shape Edges Only
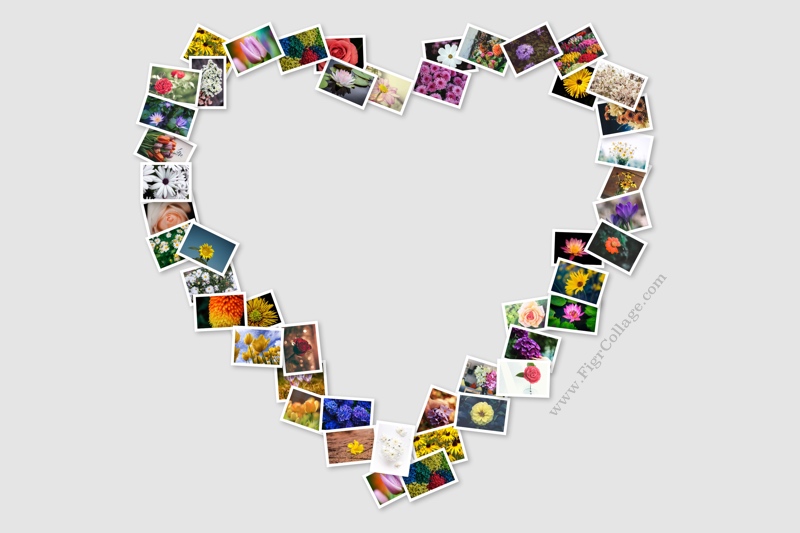
Shape Edges Only (available in v2.7.1 and later) places images only at the shape edges, as shown in the sample image below.
Shape Masked
Shape Masked (available in v3.0.1 and later) is similar to the Default placement where images fill-up the whole shape. Additionally, the placed images are masked using the shape.

How to's
The following sections answer the common questions that arise while using FigrCollage.
How to set the collage background
You can set a colour for your figure collage background. You can also use a transparent background. You should export your image as a PNG file when using a transparent background because JPEG files don’t support transparency.
How to crop/adjust a picture in its cell
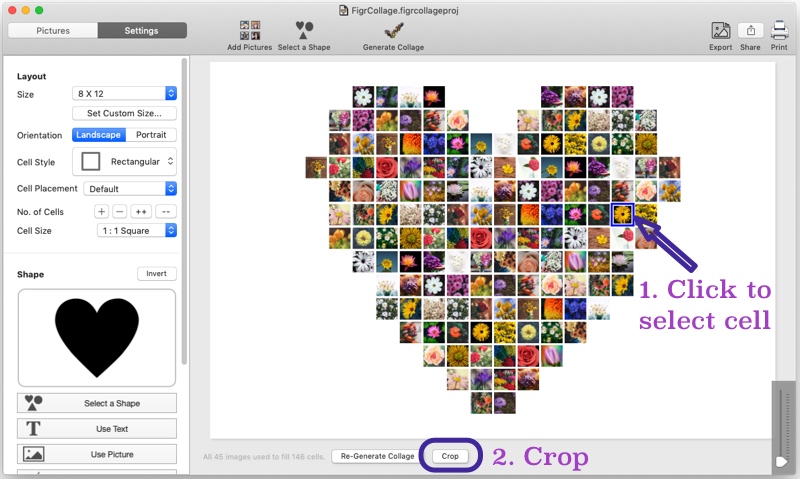
Starting from version 3.1.1 and newer, FigrCollage allows you to crop a picture in its cell for Rectangular, Circular, Hexagonal, and Diamond cell styles.
Follow these steps:
- Click the cell to select the picture.
- Use the crop button.
Is each picture used at least once?
You obviously want each of your pictures to appear somewhere in the output collage.
Starting from version 2.5.9, FigrCollage ensures each picture is used at least once in the collage. No image gets left out of the collage.
How can I reduce the duplication of images in the collage?
FigrCollage (v2.5.9 and newer) ensures that each picture appears at least once in the collage. Some images can appear twice or more times. How often these duplicates appear depends on the number of pictures you've added, the number of cells, and the shape itself.
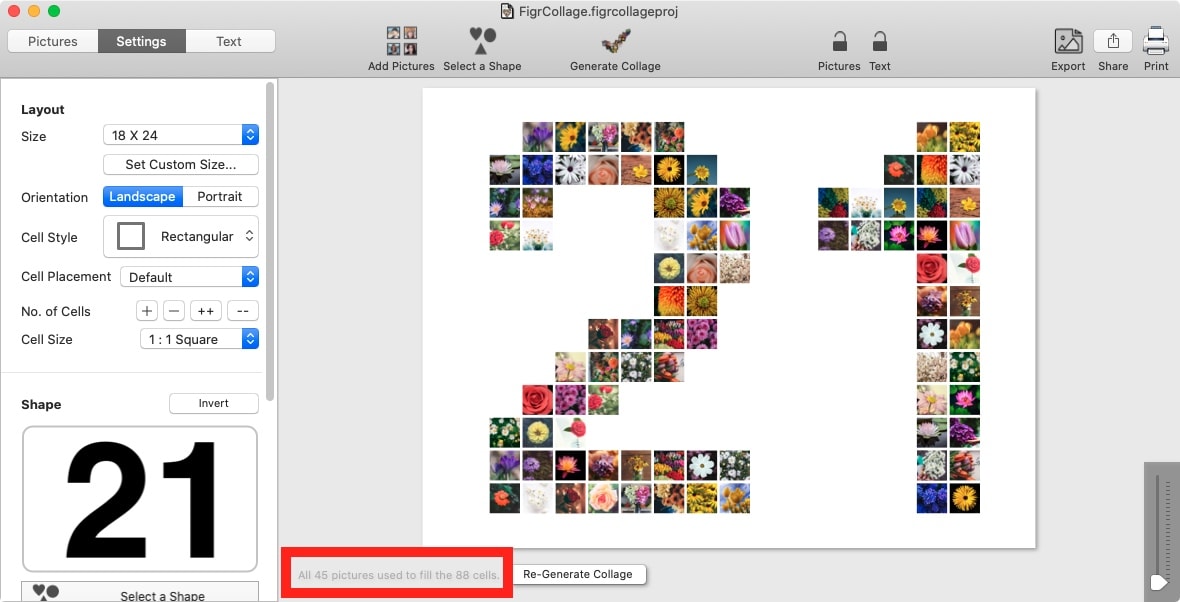
Once you generate the shape collage, a text message tells you how often the pictures are duplicated. In the sample screenshot below, this message reads, "All 45 pictures used to fill the 88 cells." This means that 43 (88 - 45) cells contain duplicates.
You can use one of the following or a combination of these ways to reduce the duplication of pictures:
Add more images
In the above example, 43 (88 - 45) cells contain duplicates. Add more images and regenerate the collage to reduce duplication. For example, if you add 10 more images, 33 (88 - 55) cells will contain duplicates.
Reduce the number of cells
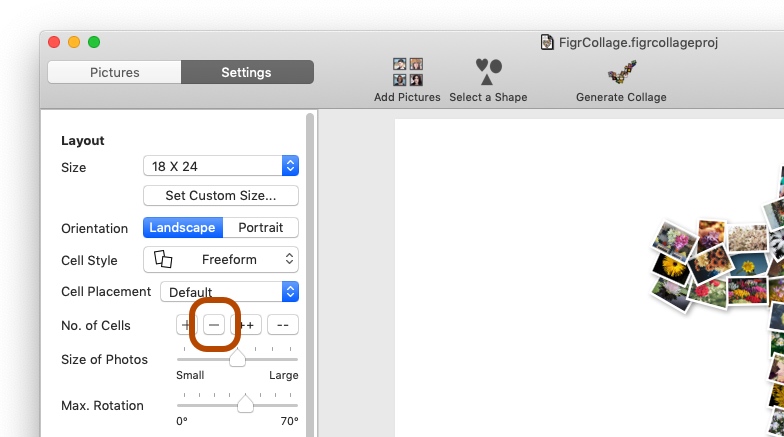
You can reduce this duplication by decreasing the number of cells in your collage using the control, as shown below. Regenerate the collage once you've reduced the number of cells.
Sometimes it might not be possible to reduce the number of cells without removing some pictures.
Manually edit the collage
You can remove or replace duplicate pictures in the generated shape collage.
To remove a picture, click a cell with a duplicate image to select it, and then use the remove button.

To replace the image in a cell, drag a picture into the cell from the Pictures tab.
How to use a customized size for your collage?
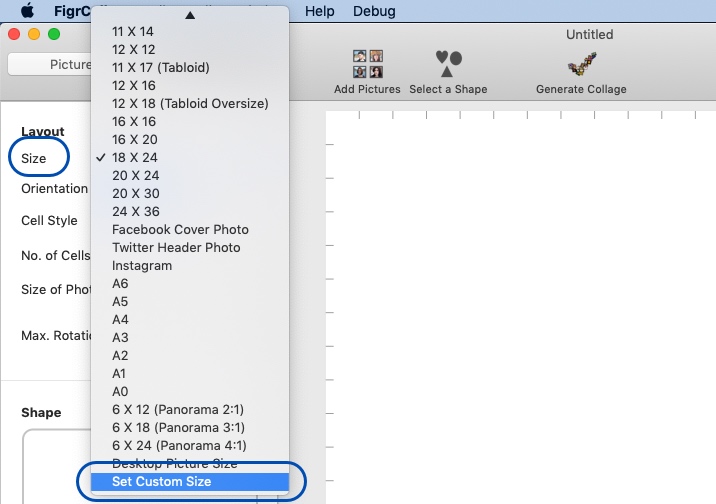
FigrCollage comes with many default mosaic sizes that you can choose from for your mosaic. But, if you can’t find the required size among the list of defaults sizes, you can use a customized size by selecting “Set Custom Size” from the Size drop-down, as shown in the screenshot below:
How to print the created photo collage?
To print the created photo collage, First, export it as a JPG image. Second, print the JPG image using a local printer or at an online/in-store printing service - such as at Walgreens, Costco, Staples, Snapfish, Walmart, FedEx etc.